Food photography is more than just snapping a quick picture of a dish; it’s about telling a story, capturing texture, color, and emotion in every frame. Whether you're shooting for a restaurant’s website or social media, the right lighting, food photography equipment, and techniques make all the difference. In this guide, I’ll walk you through how I approach professional food photography, from my gear choices to lighting strategies and creative tips.
Lighting: The Foundation of Great Food Photography
Lighting is everything when it comes to food photography. Typically, I prefer natural light whenever it’s available. When shooting at a restaurant, I’ll scout for the best spots, like a window with soft light pouring in. If needed, I’ll even move a table to make use of that perfect natural light. Outdoor seating areas are a dream for me—not only do they often have amazing light, but cleanup is much easier when things get messy.
When natural light isn’t an option, I rely on my Aputure 120dii for larger setups or my Amaran 60D with a softbox for smaller spaces. The Amaran 60D is compact but delivers an ultra-high output, making it perfect for dimly lit restaurants. Paired with a softbox, it creates beautifully diffused light that elevates the quality of every shot. Lighting is all about adaptability—sometimes you’ll need to switch locations mid-shoot as the sun moves, or adjust your setup to deal with harsh shadows. But with the right tools, even tricky environments can yield incredible results.
Essential Food Photography Equipment
Having reliable food photography equipment is crucial for both consistency and creativity. Here’s the gear I use to ensure every shot is professional and polished:
Sony a7III: This full-frame camera delivers exceptional detail, vibrant colors, and excellent performance in low light. It’s my go-to for capturing everything from close-ups to wide, story-driven shots.
Tamron 35-150mm Lens: A versatile lens that handles everything from intricate detail shots of a plated dish to capturing a restaurant's ambiance. Its sharpness and flexibility make it indispensable.
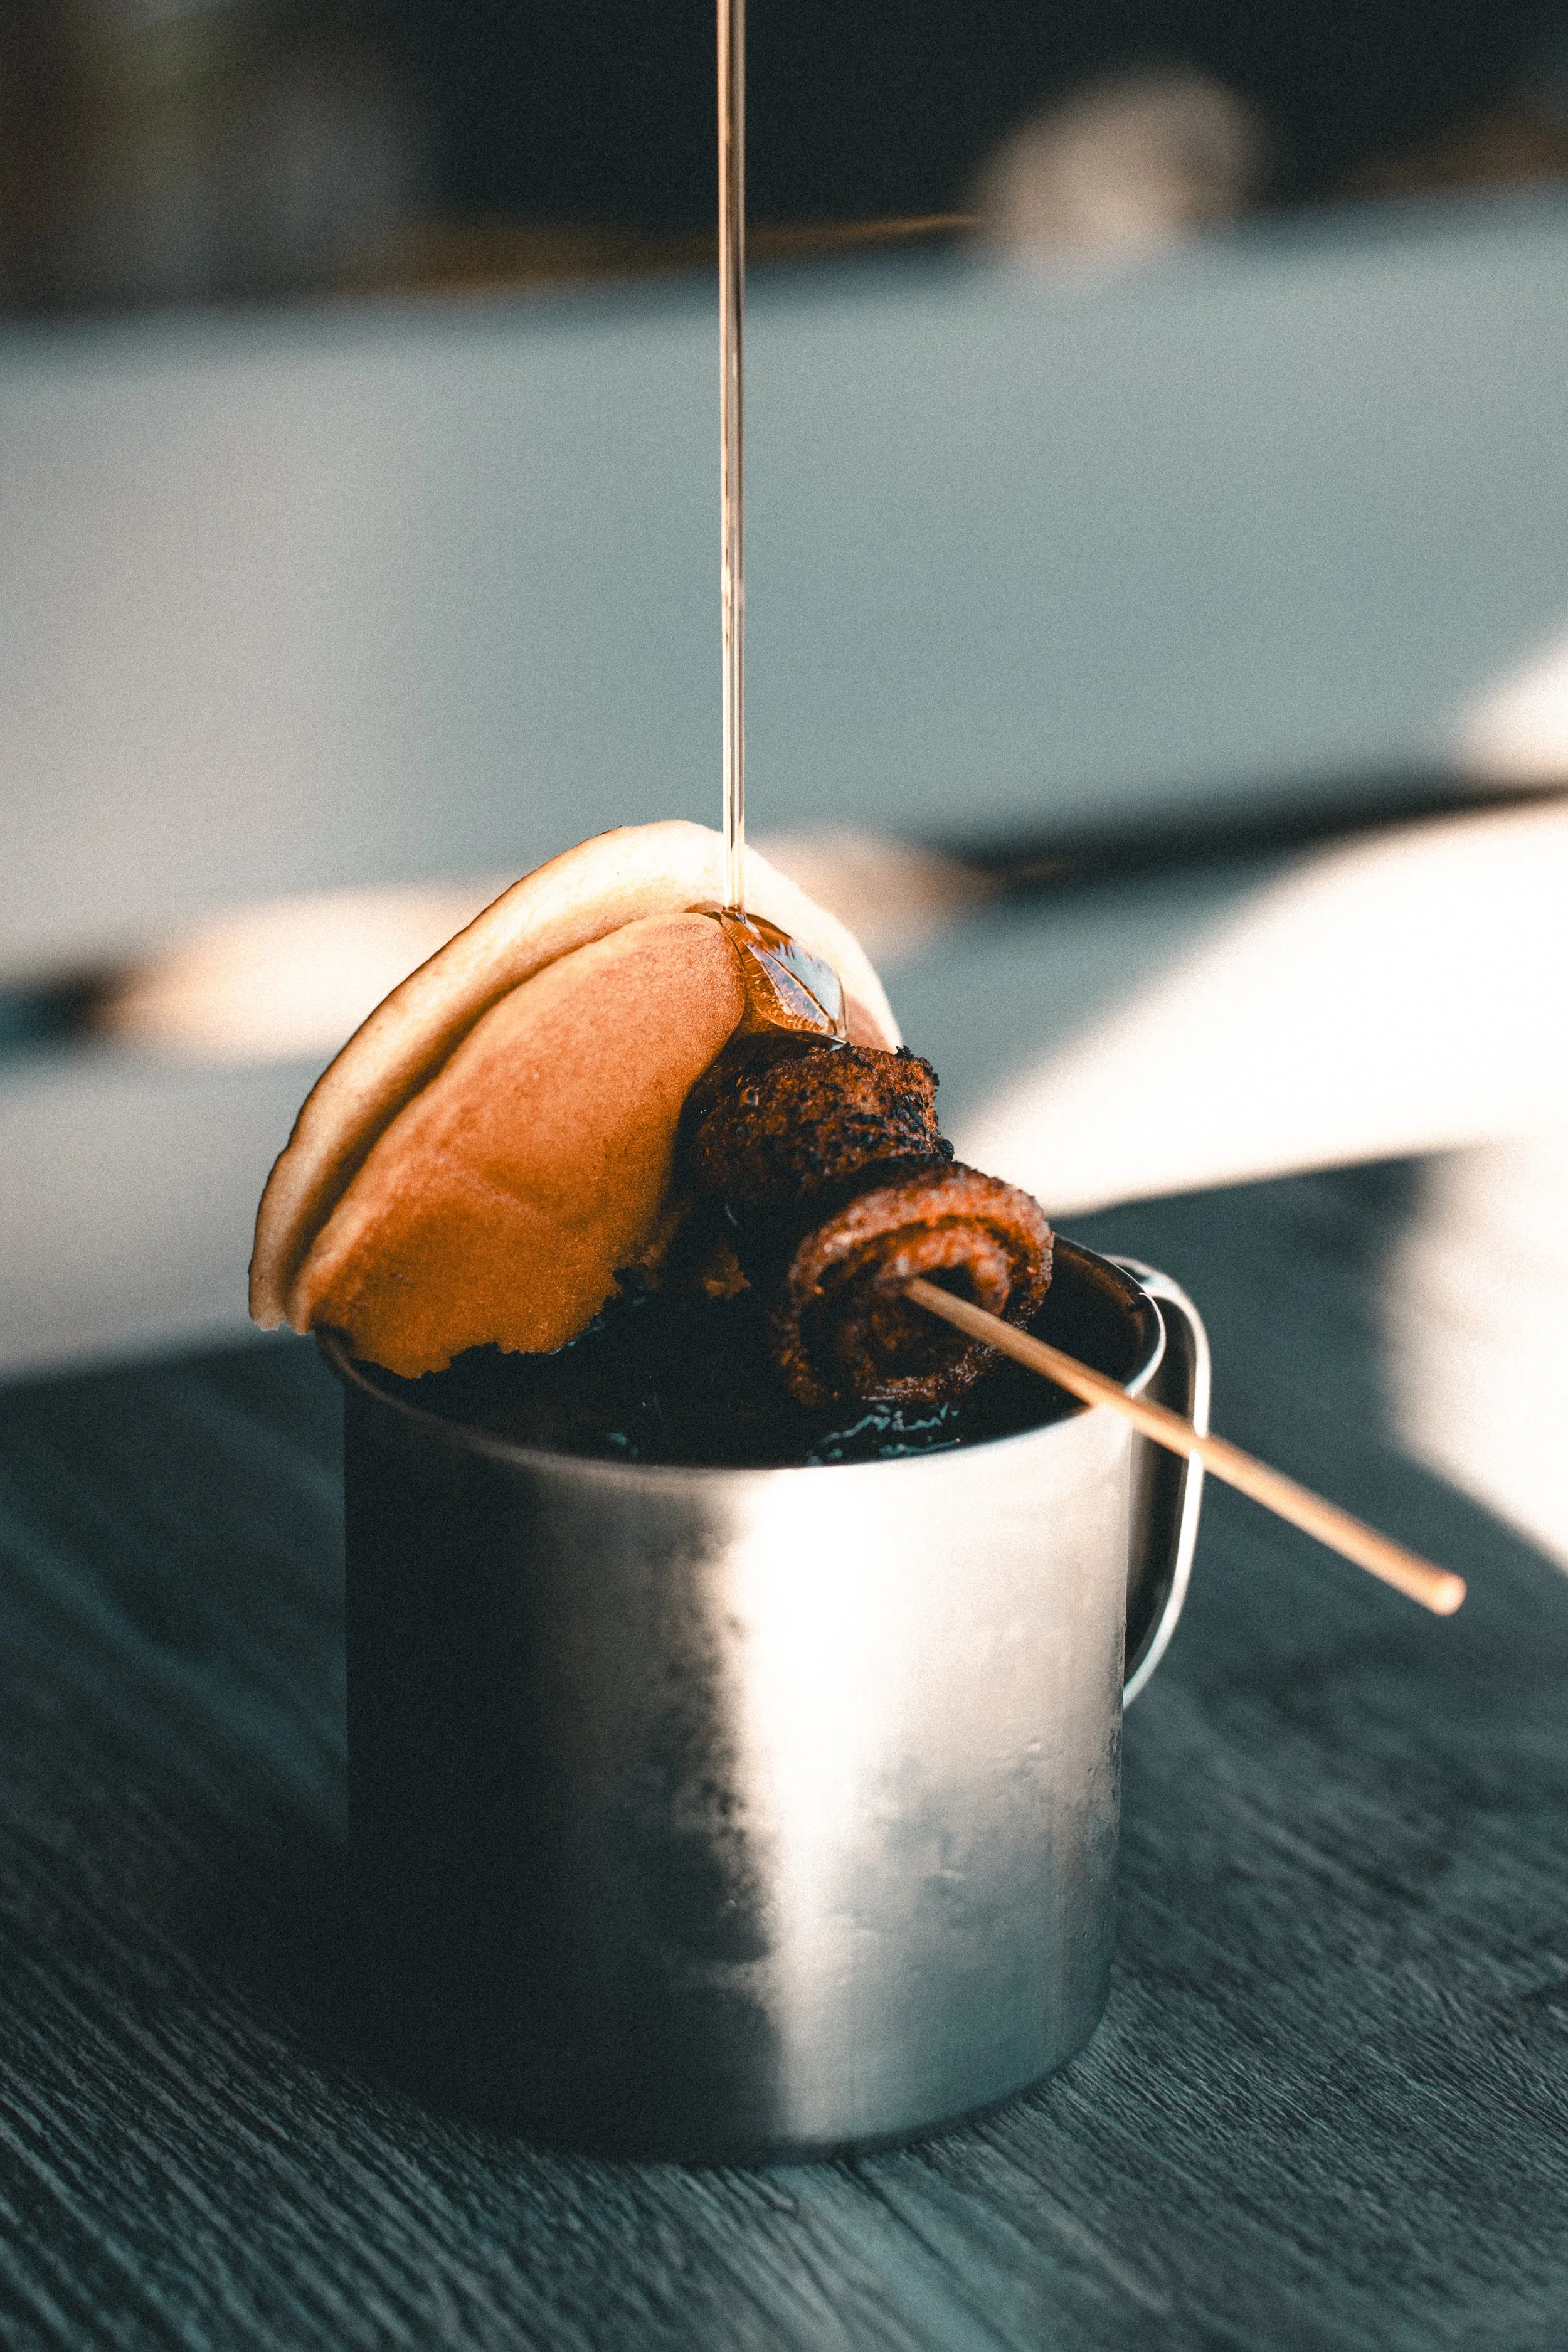
Tamron 28-75mm F/2.8 Lens: This lens is another favorite, especially for creating gorgeous background blur with wider apertures. It’s great for those lifestyle-driven shots that include layers, like a sandwich and a beer in the background.
ProMaster Photo ND Filter: When working with natural light, this neutral density filter is a lifesaver. It reduces the amount of light entering the lens, letting me shoot with wider apertures for that dreamy depth of field without overexposing the image.
ProMaster Rugged Memory Cards: These cards are built tough, which is important for me since I’m constantly swapping them out during shoots. They can handle messy environments with food spills or drinks, and their bright red design is not only functional but matches my camera bag and business card holder—aesthetic matters too!
K&F Concept Tripod: While I don’t use tripods often, when I do, I’ve been using this one. It’s sturdy, easy to set up, and perfect for situations where I need absolute stability, like long-exposure shots in low light.
Techniques for Professional Food Photography
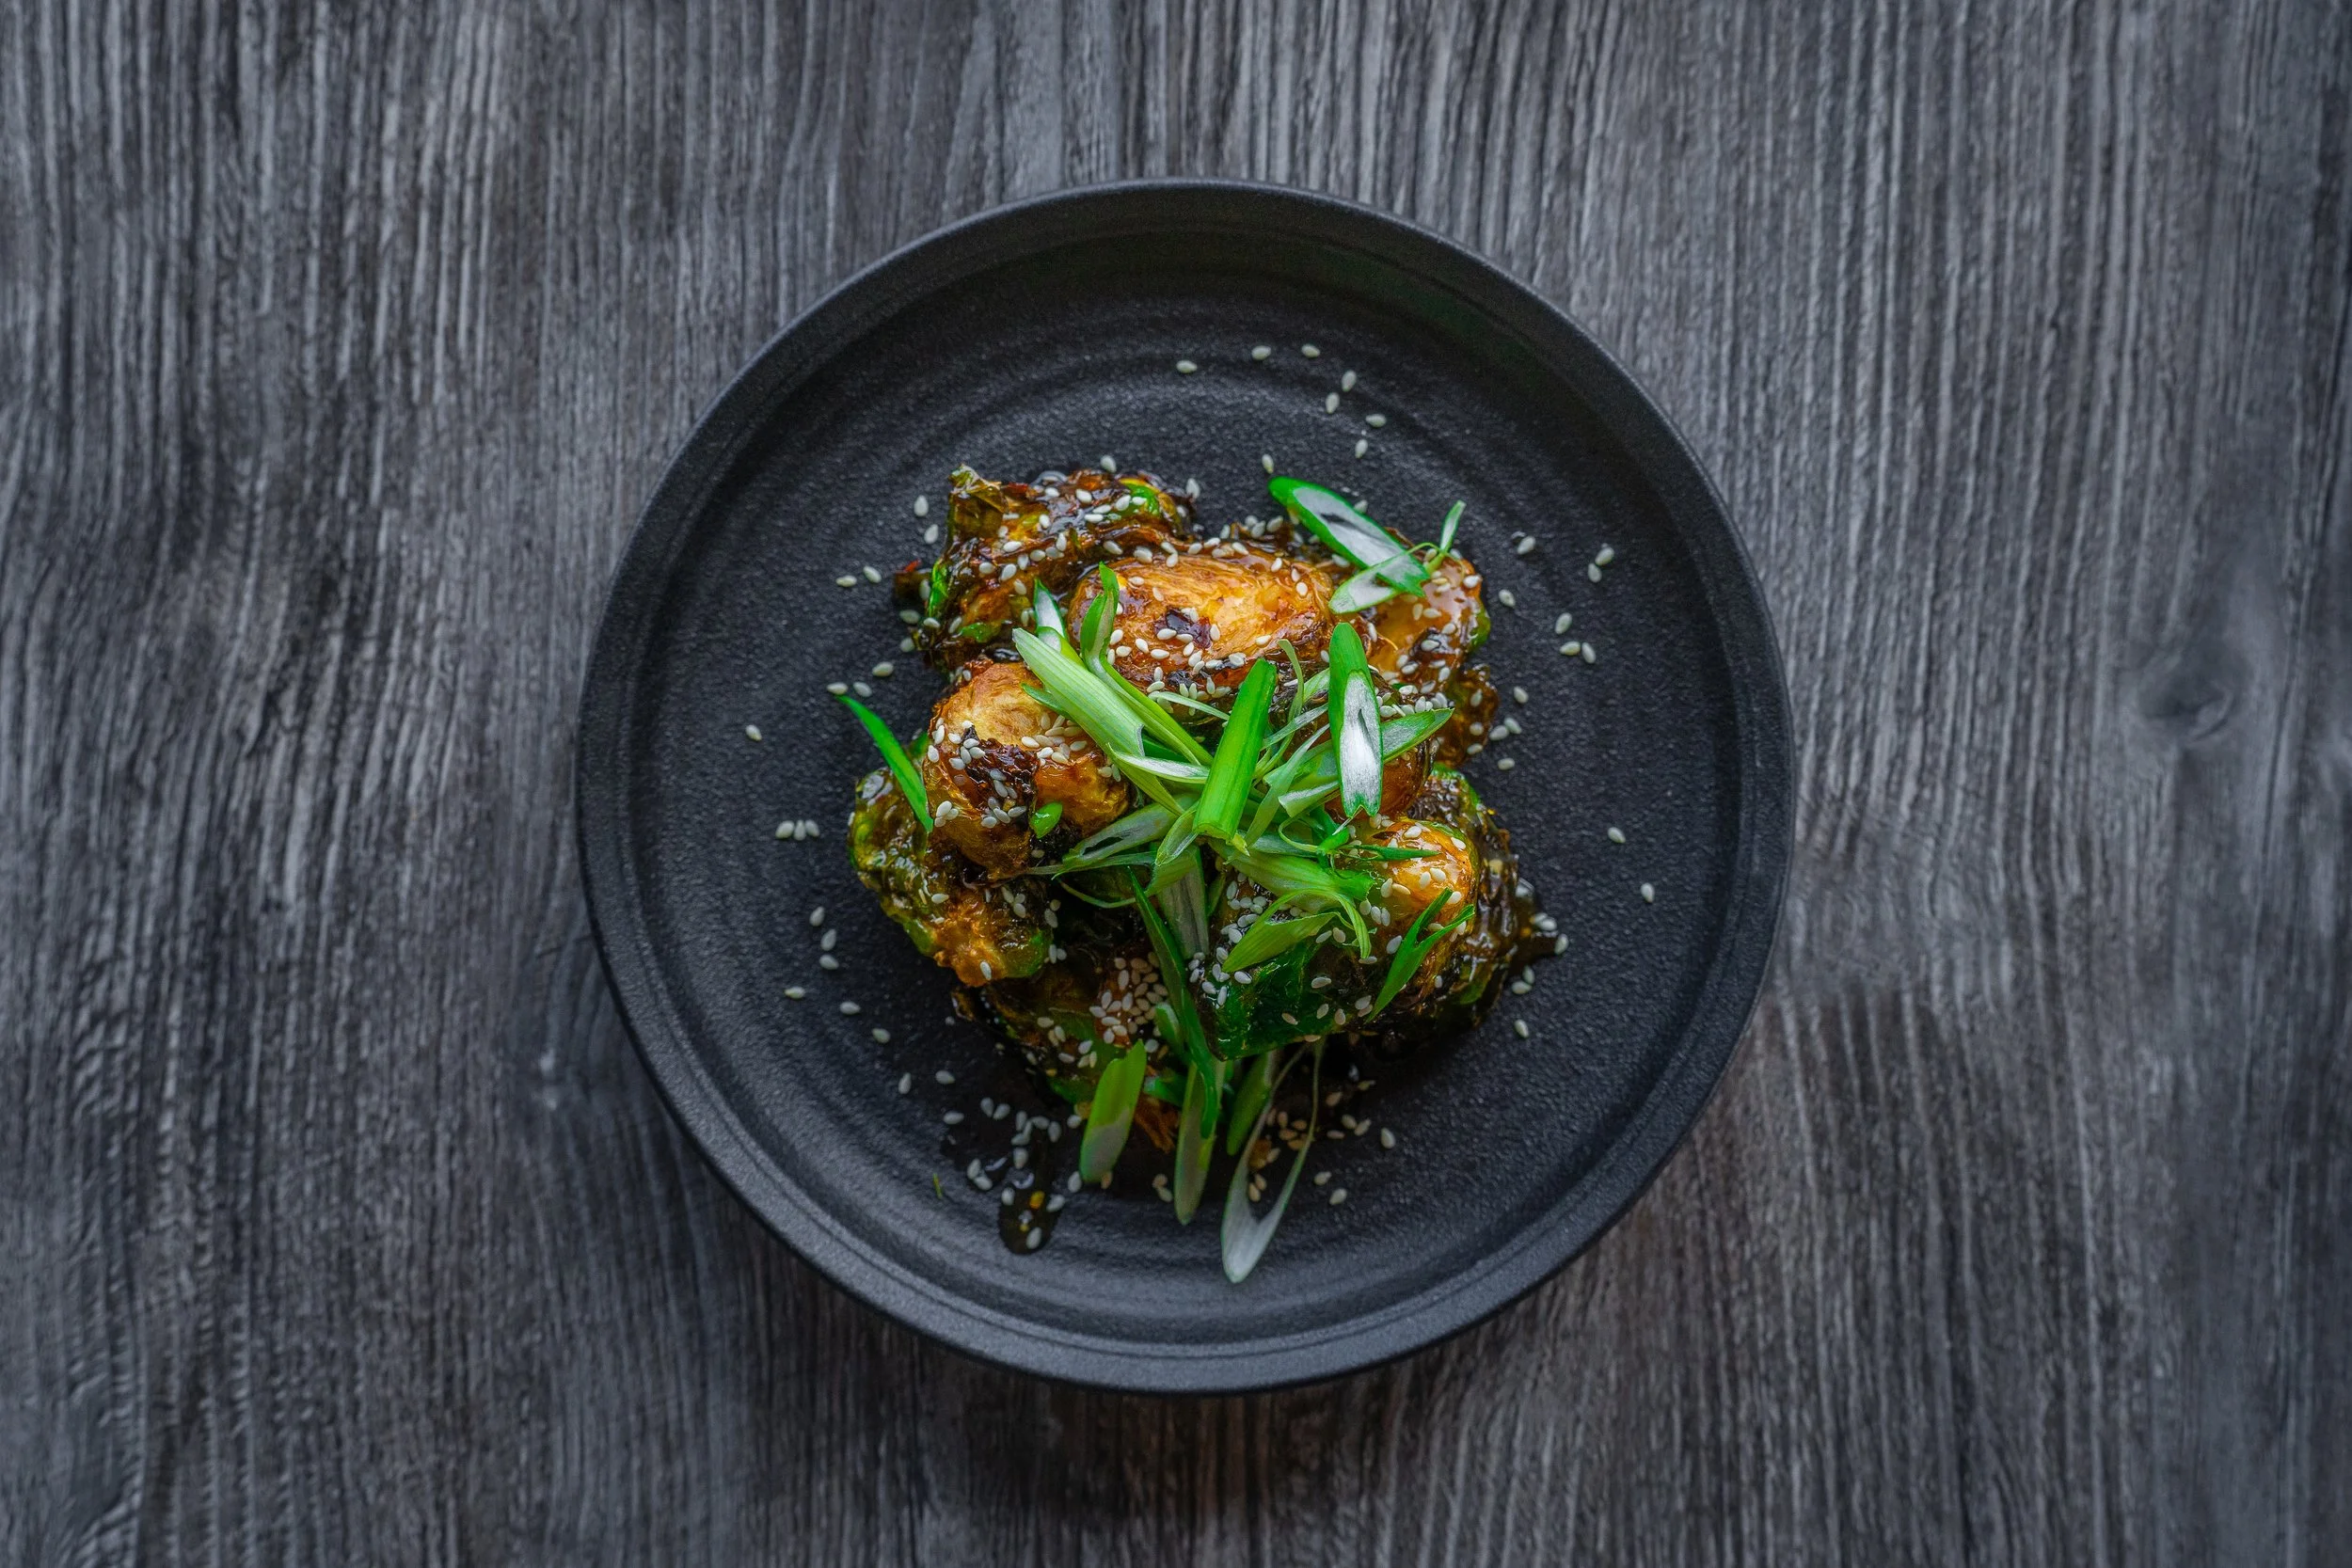
1. Select the Ideal Angle
Choosing the right angle is essential for showcasing a dish’s best features. For layered dishes like burgers or sandwiches, a side view highlights the vertical structure and the ingredients. For dishes like salads or flatbreads, an overhead shot captures all the vibrant details. Often, a 75-degree angle is my sweet spot for food photography, offering the perfect balance between depth and clarity. The goal is always to make the food look as enticing as possible.
2. Define Your Photo’s Purpose
Each photo has a goal, whether it’s to showcase the food in detail for a website or to highlight the restaurant’s vibe for social media. For staged, detail-focused shots, I concentrate solely on the food. But for lifestyle-driven images, I include more of the environment—like a drink in the background or a glimpse of the restaurant's ambiance. The Tamron lenses I use allow me to create just the right amount of background blur to bring these shots to life.
3. Keep Your Focus Sharp
A common pitfall in food photography is losing focus on the dish. For complex meals, make sure the main elements are in sharp focus. Avoid focusing on small details, like a stray piece of lettuce, while leaving the rest of the dish blurry. Your aperture should highlight the food as a whole and make it the undeniable star of the photo.
4. Add Motion for a Dynamic Touch
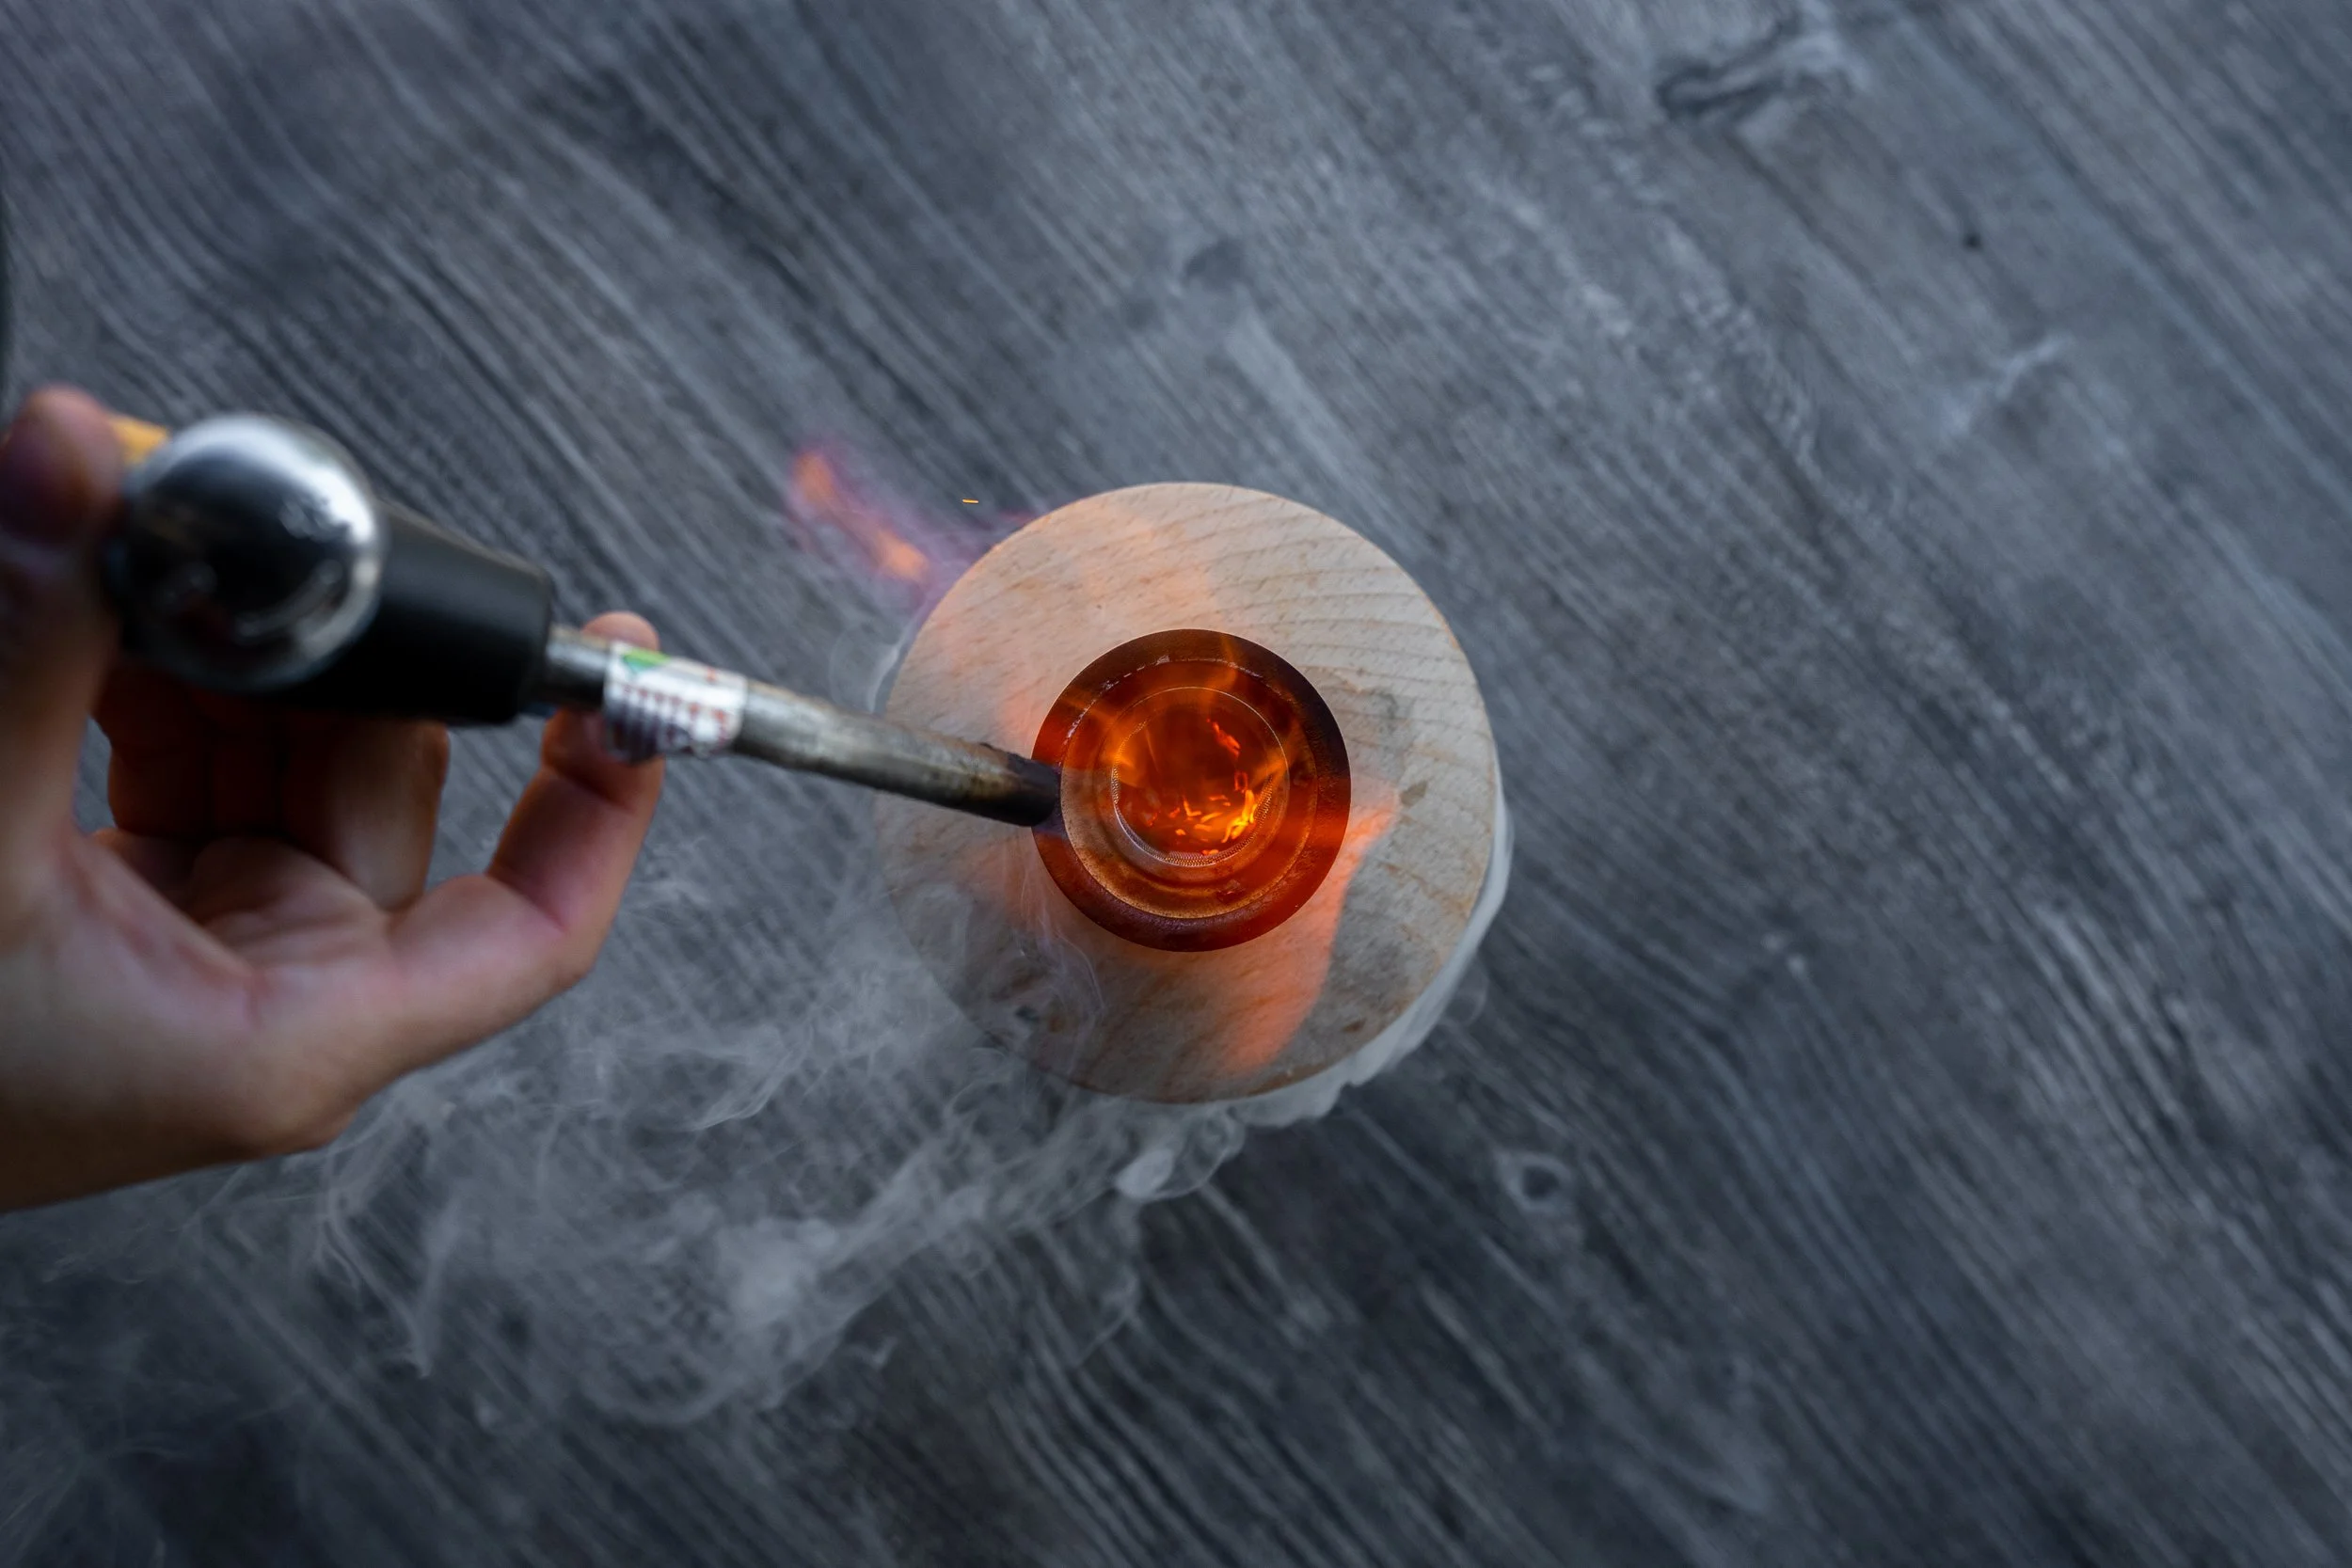
Incorporating movement can add a “wow” factor to your shots. Drizzling ranch dressing on wings, sprinkling powdered sugar on waffles, or creating a splash by dropping a lemon slice into a cocktail are all techniques I use to make my photos feel alive. These details not only make the image more engaging but also help restaurant clients tell a story that draws in their audience. It gets messy—I always keep a towel handy—but the results are worth it.
Lighting and Gear: A Perfect Pairing
My approach to food photography is all about adaptability. Natural light is my first choice for its softness and ease of use, but when it’s unavailable, tools like the Aputure 120dii and Amaran 60D provide reliable alternatives. Pairing this lighting with the versatility of my Sony a7III and Tamron lenses ensures that every dish is captured in stunning detail, whether I’m highlighting a burger’s juicy layers or creating a lifestyle shot that sells a restaurant’s vibe.
The Bottom Line
Food photography is as much about storytelling as it is about technique. From selecting the right angle to choosing the perfect lighting and gear, every decision contributes to the final image. Whether you’re a beginner experimenting with affordable lights or a seasoned pro with a full kit, the key is to stay flexible, creative, and detail-oriented.
Invest in the right tools, practice your techniques, and most importantly—don’t be afraid to get messy. That’s where the magic happens.